Ever needed to trim laminate flooring that’s snugly in place? I faced the same challenge, and it led me on a quest for the best techniques. Come along as I share how to cut installed laminate without causing damage. Your floor project just got a whole lot easier!
How to Cut Laminate Flooring That Is Already Installed
When cutting laminate flooring already installed, you first need to mark the material with a pencil or chalk to have a clear guide while cutting. Adjust the depth of your saw or knife to match the thickness of the flooring. Use the saw to make clean, straight cuts along the guide.
Fear not, fellow DIY enthusiasts! I’m here to guide you through the process of trimming laminate floorings that are already installed. In this article, we’ll cover the tools needed, the process of marking and cutting, and how to achieve clean, precise cuts without causing damage to your existing floor.

Steps in Cutting Installed Laminate Flooring
Here are easy steps to follow in cutting laminate floorings, even when it’s already installed. So, let’s roll up our sleeves and dive into this DIY challenge together!
| Steps | Actions |
| Evaluate the situation | Check the flooring condition |
| Gather essential tools and gear | Choose your preferred cutting tool |
| Clear and mark the area | Measure the area and make cutting lines |
| Make the cut | Cut in straight or curve lines |
| Perform finishing touches | Remove excess material and sand the edges |
Step 1: Assess the Situation
Sometimes, cutting laminate flooring that’s already installed becomes necessary. I’ve encountered a few instances where this was required, such as:
- Water damage that needs repair
- Aesthetic changes, like replacing a section with tiles
- Creating a diagonal transition between the flooring and another type of flooring
Flooring Condition
Before making any adjustments, I take the time to assess the flooring condition thoroughly. Here are some things to look for:
- Signs of damage, like warping, bubbling, or cracking
- Levelness and stability of the existing flooring
- Potential obstacles, such as molding or appliances
By properly assessing the situation, you will have a better understanding of the task at hand and can ensure a successful laminate flooring-cutting project.
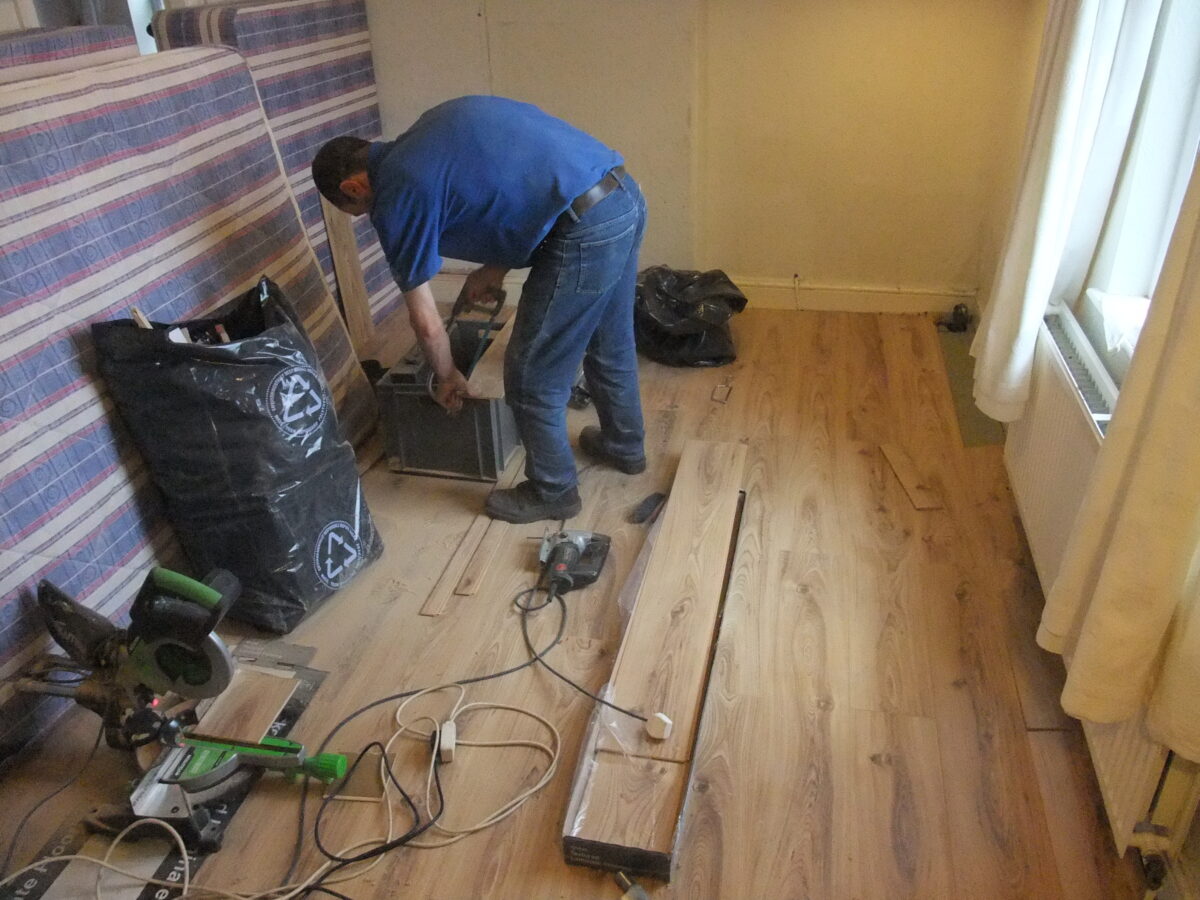
Step 2: Gather Tools and Materials
When I first encountered this problem, I realized that having the right tools and knowledge on hand was key to a successful adjustment.
Essential Tools
When I cut laminate floor that is already installed, these are some essential tools I have on hand:
- Circular saw or jigsaw
- Utility knife
- Level or straight edge
- Chalk line, pencil, or permanent marker for marking
From my experience, a jigsaw saw or a circular saw is ideal for making precise angles and cuts without damaging the surrounding material. Meanwhile, a utility knife and a straight edge or level are useful for accurately scoring the flooring along the cutlines.
Safety Gear
As a DIY home project expert, I prioritize safety above everything. When cutting a laminate floor, it is crucial to wear proper safety gear. This includes:
- Safety glasses
- Gloves
- Dust mask
- Earplugs or earmuffs
I find that wearing safety gear during projects like this helps prevent injuries and ensures a smooth DIY home improvement experience. Remember, wearing safety gear is a small investment compared to the potential risks of not protecting yourself.
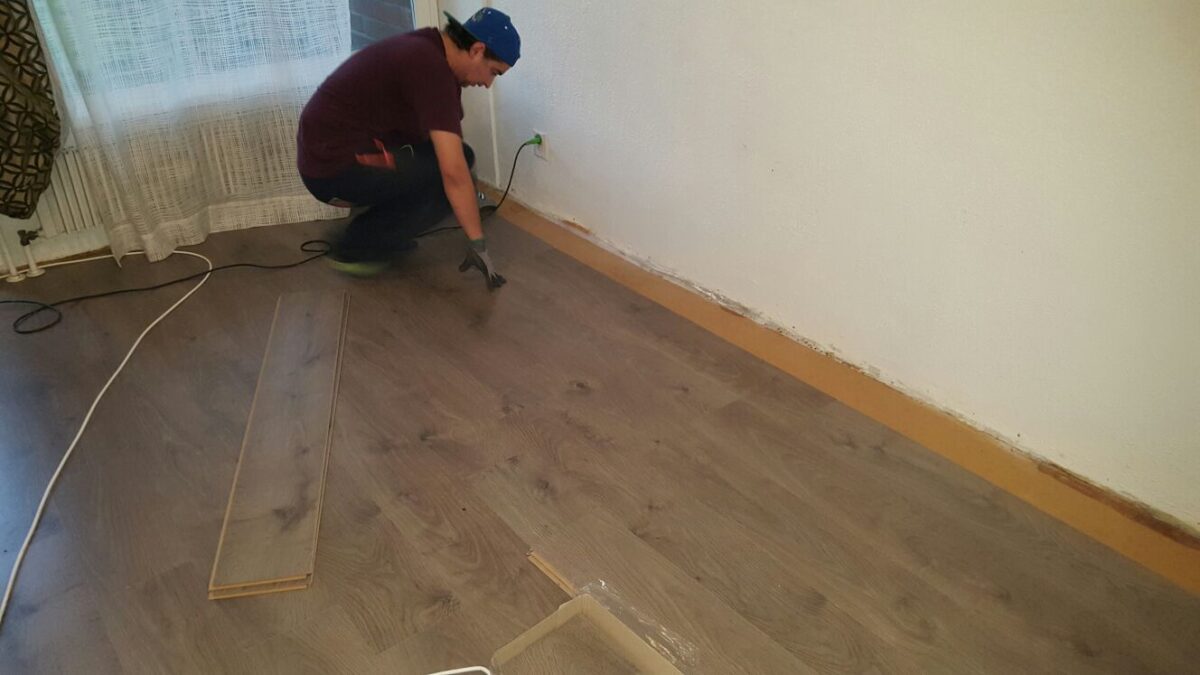
Step 3: Prepare the Area and Cutting Guide
Before you begin cutting laminate floors, be sure to clear the area where you’ll be cutting. This involves moving furniture and removing obstacles to ensure I have enough space to work and prevent accidental damage.
Next, I carefully mark the cutting line on the laminate flooring with either a chalk line, a pencil, or a permanent marker. To achieve a straight edge and precise cut, I find using a level as a straight edge while marking helpful.
Step 4: Perform the Cut
Choosing the right technique and tools is essential when it comes to cutting laminate floor that is already installed. As a DIY home project expert, I know how crucial precise cutting is for a seamless result.
After trying several times, I’ve found several techniques that you can use to trim laminate flooring in different situations. Some of the main factors to consider are the shape of the cut, the type of laminate, and your available tools.
In this section, I’ll share my personal tips on choosing a suitable cutting technique, cutting straight lines, cutting curves, and removing excess material. Remember, even complex home projects can be easily accomplished with the right tools and methods.
Cutting Straight Lines
It’s pretty easy to cut laminate floors into straight lines as long as you follow these steps.
- Use a chalk line or a straight edge to mark your desired cut. This will ensure that your cut line is straight and accurate.
- Use a jigsaw, handsaw, or circular saw to perform the cut. A utility knife is a good alternative for cutting laminate flooring without a saw.
- Cut slowly and steadily, following the line as best as you can.
- Adjust the cut depth on your saw to be slightly deeper than the flooring thickness.
Cutting Curves
For cutting curves on laminate floorings, a jigsaw with a fine-toothed blade is your best friend.
- First, carefully draw the curve on the laminate using a marker or pencil.
- In a controlled manner, use the jigsaw to cut along the marked line, especially for a 45-degree angle cut.
- The key here is to be patient and take time to achieve a smooth cut.
Step 5: Finish and Reinstall
Now that I’ve successfully cut the laminate flooring, it’s time to focus on finishing and reinstalling it to make the floor look as good as new.
- Removing the excess material: Once you’ve made your cuts, removing the excess material is one of the final steps. Depending on your technique and tools, you might need to clean up the edges using a file or sandpaper. Additionally, vacuum any remaining dust and debris before reinstalling the cut pieces.
- Sanding and buffing: Once I’ve cut the flooring, I need to smooth out the edges to ensure a seamless fit. I carefully sand the edges using fine-grit sandpaper without damaging the exposed surface. Polish it just like how you sand concrete meticulously. After sanding, I use a soft cloth to buff the edges, which gives a polished look.
- Reattaching trim and transitions: Now, it’s time to reinstall the trim and transitions that may have been removed earlier. I start by reattaching baseboards or quarter-round molding to cover the expansion gaps. I also reinstall door transitions or T-molding for a clean finish between different flooring types.
By carefully following these steps, I ensure that my laminate flooring project is completed with a professional appearance. Remember to stay patient, work methodically, and take necessary safety precautions during this DIY home improvement project.
Related Questions
Can You Cut Laminate Flooring Inside?
What Happens if You Laminate Then Cut?
Is It Hard to Cut Installed Laminate Floorings?
Conclusion
To cut installed laminate flooring, use your preferred tool and follow your cutting guide for a seamless trim. This approach ensures a more precise result, giving your flooring project a professional finish. With a little practice, you’ll be handling this task like a true DIY home project expert!