There are many reasons you may want to make an angled aka beveled cut when woodworking, but sometimes it’s easier said than done. This guide will take you through the steps to cut angles with your circular saw, and once you get the hang of it you’ll be making angled cuts with ease.
Contents
What Is an Angled Cut?
Most cuts that you make are going to be at 90 degrees—you’re just slicing the wood straight through. An angled cut, on the other hand, is where one edge of the board sticks out farther than the other, and the slope between them is at a specific angle. You can also have multiple bevels on the same edge that create a more complex finish.

So when would you want to make an angled cut?
- To hide the joints between separate wood pieces
- To make finished products more aesthetically pleasing
- To create more stable joints (especially in welding)
- To create joints that are resistant to weathering (for outdoor projects)
- For decorative pieces and wall trim
- To blunt sharp edges
One common mistake for beginners is to confuse an angled cut for a miter cut. With a miter cut, you’re also making an angle but on the length and width of the wood instead of the edge.
Types of Angle Cuts
While there’s no limit to the shape and angle you can make your bevel, there are some configurations that are more commonly found—especially in welding and construction.
These are the A, V, Top K, Y, X, and Bottom Y bevels, with each cut named for the letter that the finished edges resemble. Some of these cuts require higher levels of precision, but you can still achieve them with your circular saw.
Making Angled Cuts With a Circular Saw
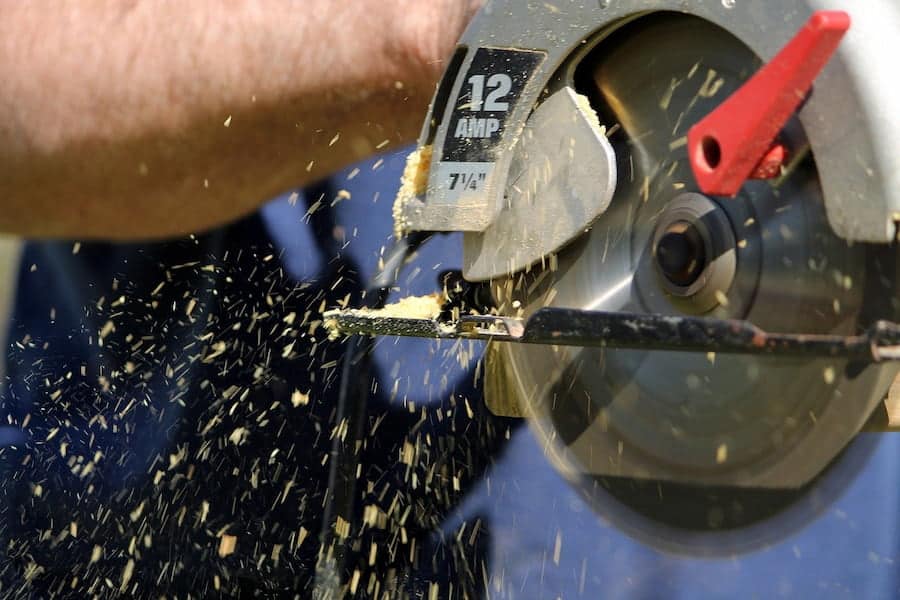
Circular saws are great power tools for bevels because most of them come equipped with a tilting base plate that can be set to the angle you’re looking for. The angles are marked on the baseplate, and most circular saws can cut at least 45 degrees.
Angled Cuts at 45 Degrees or Less
Since your saw is built to handle these cuts, they’re some of the easiest bevels you can make. If you’re making trim or adding a decorative edge to a project, you’re probably good to just use the angle on your saw.
If you’re going to be joining beveled edges, however, you’ll want to grab a protractor to get as accurate of an angle as possible. To make angled cuts at less than 45 degrees follow these steps, and you can also see the cuts in action.

Step 1: Measure and Mark
While you may not need a 100% perfect angle for your project, it still never hurts. Use your protractor to mark the angle of the bevel on your edge, and then carry the cut line to the top of the wood so you can follow it across once you start cutting.
In lieu of marking the exact angle, you can also just go by the saw’s angle setting and mark where you want to cut along the top instead.
Step 2: Match the Saw Angle and Clamp the Wood
Once your cut line is drawn, you can set the angle using the base’s measurement, visually match the blade to your cut line’s angle on the edge, or use your protractor to set the blade angle as well.
Once you’re satisfied you have the right angle, you can clamp your wood down to your workbench to keep it from moving as you cut.
Step 3: Wear Protection
Before you turn on the saw make sure you have gloves, eye protection, a mask, and earplugs—safety first.
Step 4: Make the Cut
Turn the saw on and carefully start the cut—matching the blade to your guideline—and then steadily cut through.
Angled Cuts Greater Than 45 Degrees
Now let’s say you’re wanting to make a cut – say 60 degrees—but your saw’s angle setting only goes to 50. The good news is that you can still get the angle you’re looking for, there’s just one more step in the process.
Take the angle you want to cut and subtract it from 90; in this case, 90-60 is 30, and you’re going to make a 30-degree cut first. Using the steps above, measure the angle, draw your cut line, set the blade, and make the 30-degree bevel.
Now that you have the first cut done, follow the following steps to make the second cut and get the angle you’re looking for.
Step 1: Measure and Mark
To measure the angle for your second cut, take the protractor and lay the flat side along the angled edge you just cut, with the center at the leading edge of the bevel. Then draw your cut line at a 90 degree angle, continuing until you reach the opposite edge.
Step 2: Clamp the Wood and Set Your Fence
Since this will be a straight cut you don’t have to do anything special to the saw, but as always you do want to clamp the wood down nice and firmly. You’ll also want to use a fence/guide for this cut.
The fence is helpful due to the precise angles involved, and also since you’re cutting right along the edge you just made. You can find several different circular saw guides online or at your local hardware store, or you can nail a straight piece of scrap to the wood to use as a fence instead.
Step 3: Wear Protective Gear
No matter how quick the cut maybe, you always want to be properly protected.
Step 4: Make the Cut
Turn the saw on and begin down the cut line, taking extra care to stay as much on the edge of the first cut as possible. Once finished, you now have a 60-degree angle on the opposite edge from where you made the first cut.
Conclusion
In conclusion, cutting angles with a circular saw may seem challenging at first. However, all you need is a protractor and an adjustable baseplate on your saw to DIY any beveled edge for your next project.