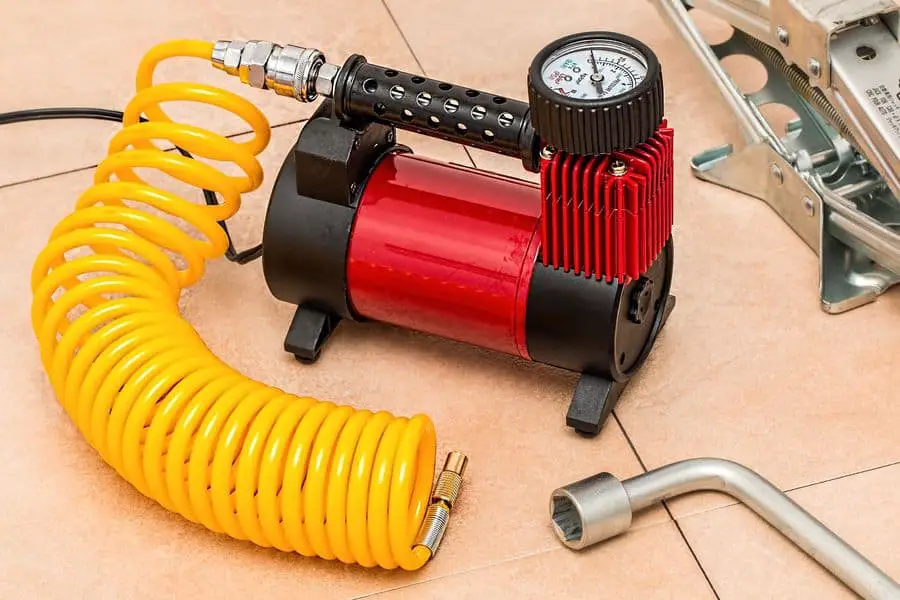
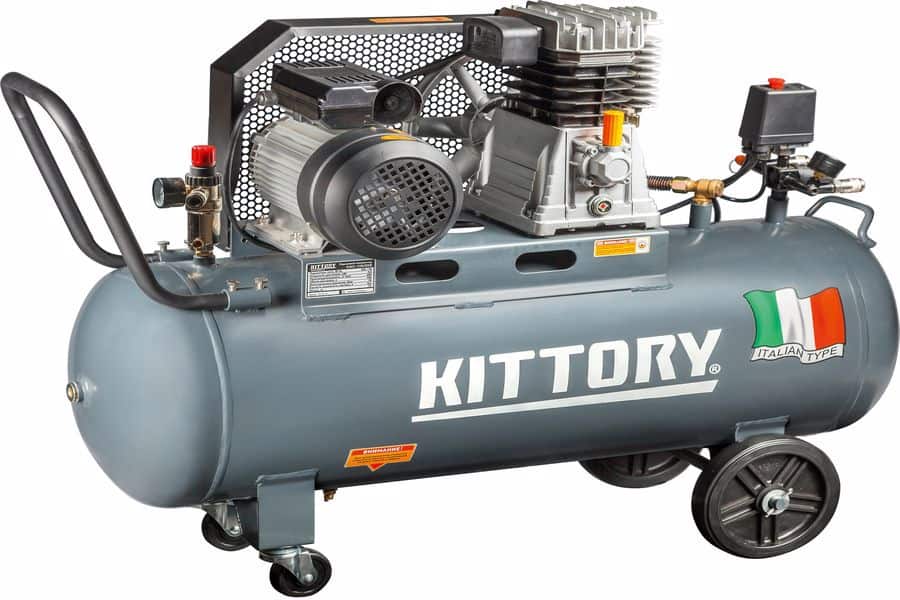
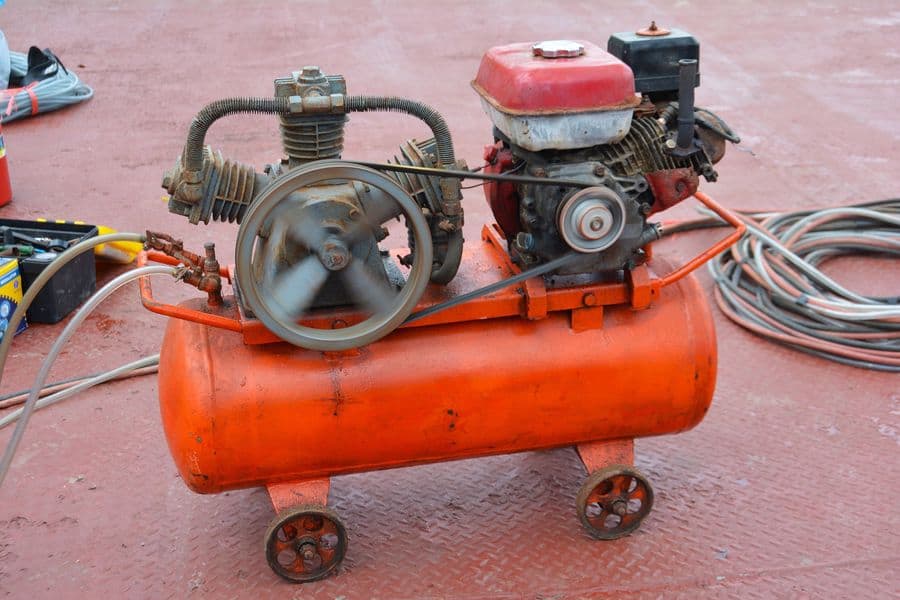
An air compressor can inflate and deflate items such as an air mattress and fill beach toys and bike tires! It’s also great for a number of professions, including mechanics and plumbers! If it suddenly malfunctions and you have to swing into action, here’s how to wire a pressure switch on an air compressor like a pro.
Contents
- How to Wire a Pressure Switch on an Air Compressor
- What Tools Do You Need for Wiring the Pressure Control Switch?
- Safety Tips When Wiring the Pressure Controller
- Step 1: Shut off Power
- Step 2: Find the Wires at the Pressure Switch
- Step 3: Note the Color of the Wires and Their Connections
- Step 4: Connect the Cords to the Terminals
- Step 5: Replace the Cover and Test the Unit
- How Does a Pressure Controller Switch Work?
- Where to Find the Pressure Switch
- Testing Switch Performance
- Adjustable vs Non-adjustable Pressure Switches
- Conclusion
How to Wire a Pressure Switch on an Air Compressor
When you first pick up a pressure switch it looks simple and straightforward. However, when you try to install it and wire it to the pump you might run into trouble. Here is the help you need.

What Tools Do You Need for Wiring the Pressure Control Switch?
Before you start to wire a pressure controller, whether it’s a 120v or 220v, ensure you have the right tools for the job. The point is that you work fast and seamlessly from the start to the end. Among the tools you need to include are:
- Press switch
- Safety gloves
- Solderless ring terminals
- Wire strippers
- Screwdriver
Safety Tips When Wiring the Pressure Controller
It is important to stay safe when working on electrical connections, even when installing a pressure controller on a compressor.
Unplug the Machine
Before you start doing anything, make sure that the main power source is shut off. Also, thoroughly inspect the performance of the pressure switch to determine whether the repairs are necessary.
Wear Gloves
Wear protective gloves before getting down to it, and do not work in a wet area. Try to ensure that the equipment’s surface and your hands are completely dry of water and that the wires you intend to use are well insulated.
Study the Setup
Finally, always check the colors of the wire and terminal labels before connecting them. Additionally, ensure the pressure controller you are replacing is compatible with the unit.
Step 1: Shut off Power
Before starting the process, check the unit’s circuit breaker and ensure it is shut off. It helps to avoid unnecessary accidents. You also want to ensure the trip switch and air compressor are close to each other for convenience.
In operation, the pressure switches the machine’s motor ON and OFF. It helps to regulate the tank’s pressure levels. When you plug in the compressor, power passes through the switch, and therefore once the switch cover is off, you are exposed to live terminals.
Tinkering with live terminals is dangerous, and it may result in electrocution. So double-check to ensure the compressor is unplugged or the trip switch is off.
Step 2: Find the Wires at the Pressure Switch
After removing the switch cover, you will see four terminals. In most cases, they have marks to help avoid confusion. There are two sets of terminals, marked LINE and MOTOR/LOAD.
Two wires connect the switch to the compressor. These are the line cord and motor cord.

The power cord connects the pressure controller terminal and the wall plug. The motor cord connects the motor circuit with the pressure controller. The cords are colored green, white, and black to help users differentiate them with ease.
Step 3: Note the Color of the Wires and Their Connections
Use a marker to label each wire with its connected terminal on both ends of the connection (the power source and the control switch). Use a strip gauge to measure out proper lengths, allowing slack in each line’s connection point.
The thicker wire should leave a larger amount of extra slack, although anywhere from one to three inches is usually sufficient.
When wiring the switch, it is important to remember that the system’s black wire always connects to the motor line contact on the left, and the system’s white wire connects to the motor line contact on the right. The ground (green) wire is connected to its own terminal on the left.
Step 4: Connect the Cords to the Terminals
Using a screwdriver, connect the wires coming from the power source to the contact screws of the pressure switch.
Depending on the manufacturer, some cords are soldered, and others aren’t. Thus, you will only have to attach the cord to the contact. Some wires are not readily stripped, so you will need to solder them yourself.
Use a wire stripper to strip the cords and attach the soldering to the exposed wires. Inspect the contact markings and undo the screws using a screwdriver. Connect the respective cords to their terminals and fasten the screws.
Step 5: Replace the Cover and Test the Unit
Finally, replace the switch cover, switch on the circuit breaker and turn on your compressor. Ensure that you have correctly put everything back in place and that all the terminals are in contact.
How Does a Pressure Controller Switch Work?
You should get familiar with the pressure controlling switch, which comprises different parts and works by regulating pressure within the machine.
There are two air lines that go to a fitting on the side of the pressure controller. One line is just a direct feed from the tank. The line that goes directly from the tank to the pressure controller is called the supply line.
The other line is from the unloader valve, which allows air to be cycled from the tank, through the pump, and back into the tank again.

If the pressure gets too high, the switch on your air compressor shuts off power to the machine before that happens. The pressure control switch uses an electric solenoid valve to activate and deactivate an electrical circuit for the purpose of controlling power flow.
Where to Find the Pressure Switch
The pressure controlling switch is an important component in your compressor. It works to prevent the compressor from running until it reaches the correct pressure. When this happens, it shuts off power to the motor and prevents damage to your equipment.
You will find the switch located in the tank of the compressor unit. When you open up the tank, you will see a gauge that shows the current pressure of your tank. Next to that gauge is where you will find your pressure switch.
Testing Switch Performance
First, unplug the compressor unit from the power source. Then, disconnect the wires from the switch manually. Use a voltmeter to test the performance of the pressure control switch. If you find out that your unit’s control switch is faulty or damaged, replace it immediately.
If your pressure controlling switch is working properly, proceed to check whether there are any leaks in your compressor system. To do this, take off all of the fittings and check them for any signs of damage or wear. Replace any damaged parts immediately before using them again.
Adjustable vs Non-adjustable Pressure Switches
There are two types of pressure adjustment switches. They include:
Adjustable Models
Adjustable pressure switches have a moveable screw which you can use to control the in and out pressure. To increase the pressure, rotate the screw clockwise, and to reduce the pressure, you will have to rotate it anti-clockwise.
Non-adjustable Models
A non-adjustable pressure switch is factory preset. It does not have an adjustment screw, and therefore you can’t adjust the pressure. Some manufacturers even seal the screws with silicon.
If you notice that your compressor is taking in pressure past the cut-out setting of the pressure control switch, the non-adjustable switch probably needs replacing.
Conclusion
The pressure controller is an integral part of the compressor. Thus, it is always in constant use, making it prone to wear and tear. It might require frequent rewiring, which doesn’t have to be done by professionals. Follow this guide to master how to wire a pressure switch on an air compressor without calling in the handyman.

