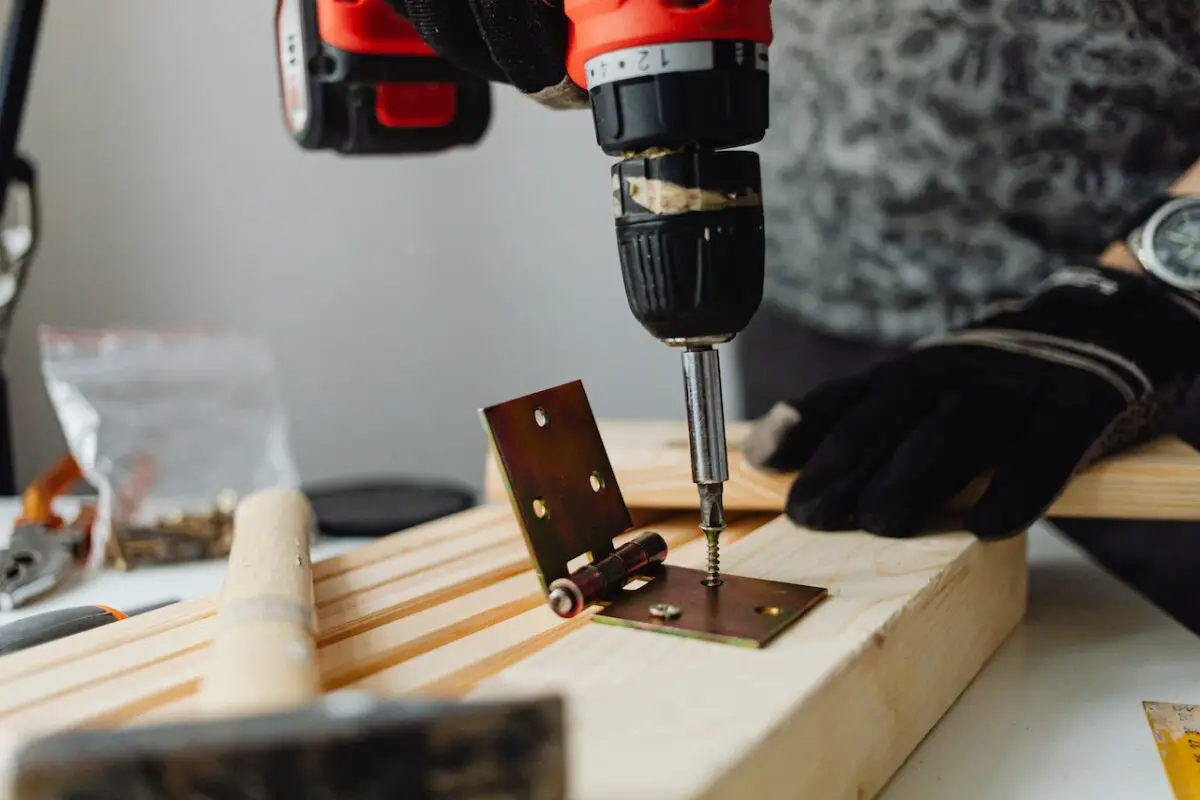
Slipping bits are frustrating. It affects the quality of your work and slows down your progress. You should know how to stop a drill bit from slipping in the chuck. In this article, you’ll find out various ways to prevent slipping.
Contents
How to Stop a Drill Bit From Slipping in the Chuck
The most popular way to stop a drill bit from slipping in the chuck is by cleaning the chuck. Most people find this method to solve the slipping problem. Therefore you should know how to clean a dirty chuck.
Don’t worry; we’ll cover the steps to clean your chuck so the bits will stop slipping. If cleaning the chuck doesn’t work for you, you may want to try different methods. There are other ways to stop a bit from slipping in the chuck. Let’s take a look at each one of them.
Making a Dent
To prevent your bit from wandering or slipping , you can place a center punch or nail set in the designated hole location and hit it with a hammer. It will make a dent in the material, which you can use as a guide for the drill bit and prevent slipping.
This can work for most materials, especially wood, and metal. It also doesn’t necessarily have to be a center punch. Other tools that can make a hole and penetrate wood or metal should be fine.
Drilling a Pilot Hole
Dents can turn out differently than you want them to. Therefore, it’s better to drill a pilot hole instead of making a dent. This is recommended for surfaces that are smooth and hard to dent.
Making a pilot hole is easy. You must use a tiny bit and drill a pilot hole in the area you want to drill. The bit you use should be much smaller than the bit you will drill the hole.
This would give a bit of clearance if you drilled a bit off. Thus, you won’t have to replace or make significant changes to your work.
Replacing the Chuck
The chuck may be the problem and so replacing it would be inevitable. Choose a chuck that you can tighten using a key. That’s not to say that keyless chucks are inadequate. They’re great for household use.
Using Drill Bits With Hexagonal Shank
This design provides less chance of slipping. This is mainly because the bit is easier to grip than the cylinder style. However, they do tend to be pricier since they are more popular.
Still, it’s a significant investment to get these bits if you find yourself slipping during drilling more often. You can also buy a higher-quality drill or higher-quality chuck just to be on the safe side.
Replacing a Drill Chuck to Stop Slipping
Sometimes the reason your bit is slipping in the chuck is the chuck itself and not the bit. It might need some replacing, especially if it’s old or worn out. To replace a drill chuck, you can follow the following steps:
- First, unplug the drill. Make sure it’s not operating, so also remove the battery if it’s battery operated.
- Open up the jaws and look for a retaining screw, usually located at the bottom of the chuck. If there’s a screw, remove it to unscrew the chuck. You usually turn it clockwise to remove the screw.
- Identify the means of gripping. Most drills and chuck can be gripped with a regular open-end wrench. For some, you may need to use a twin wrench, single wrench, or no-wrench method.
- For an advanced alternative to the no-wrench method. Grip the hex key in a vice while putting the drill in reverse. Hold it tightly and then squeeze the trigger. This should only be done when you have enough experience with handling drills.
- If the chuck is broken, use a hook spanner. You can locate the pin in one of the holes for the chuck key.
- Now that the old chuck is removed, it’s time to fit in a new chuck. You can use a retaining screw or spin it counterclockwise. Screw the chuck in place and tighten it enough. You’re done.
Cleaning a Dirty Chuck
First, check if your chuck is dirty and clogged with debris. To do this, do the following steps:
- Unscrew the middle screw on the chuck. You can locate the screw by widening the jaws of the chuck. Some chucks don’t have this screw, and you can just disconnect the chuck, or another mechanism is involved, like prying with an Allen wrench.
- Once the screw is removed, you can now disconnect the chuck.
- Assess how much dirt is in the chuck and plan the cleaning process.
- Clean the chuck using a non-corrosive mixture. There are plenty of non-corrosive cleaning products you can choose from.
- Use a spray can and apply the mixture, and clean off the dirt. Don’t spray on the chuck as it can remove the bearing oil, and you might have to reoil it in the future.
- Let it dry for a few minutes and ensure it is completely cleaned.
- Coat the middle screw with thread-locking fluid to ensure it locks in tightly.
- Reinstall the chuck and screw back the middle screw in place.
- Test your chuck with the drilling bit and see if it still slips.
Tips to Properly Drill and Prevent Slipping in the Chuck
- Drilling bit compatibility – Use drill bit types that are effective with certain surface materials.
- Sharpen drill bits – Keeping them sharp will stop them from slipping. A grinder at home would be helpful for a lot of tools.
- Don’t force the drill – forcing the drill won’t do any good and may even cause damage. If it’s hard to drill, remove the drill and check the hole if there’s some problem.
Related Questions
What Tightens the Drill Bit in Place?
Why Does My Drill Bit Slip in the Chuck?
What Is Used to Tighten the Chuck?
Conclusion
There are many solutions to stop your bit from slipping in the chuck. Most of the time, it’s related to the chuck, and small changes can fix it. Hence, you should know every method to explore every option available, depending on the situation.