As a home improvement enthusiast, I know the frustration of cutting blinds to size. If not cut properly, you may end up with cracked blinds and waste your materials.
In this article, I will share tried-and-true methods I have used over the years how to cut blinds without a saw. Whether installing new blinds or adjusting old ones, you will learn handy tricks like using tin snips, a utility knife, or even a router to get professional-looking results.
How to Cut Blinds Without a Saw
Alternative options for cutting blinds without using saws include tin snips, utility knives, scissors, and a rotary tool like a Dremel. Make sure to size up the blinds, make straight cuts, and smooth the edges.
Blinds are an excellent method to add privacy and decor to your home. What if you wish to shorten or resize them? You can use everyday tools in your home to achieve this.

Size up Your Blind Cutting Needs
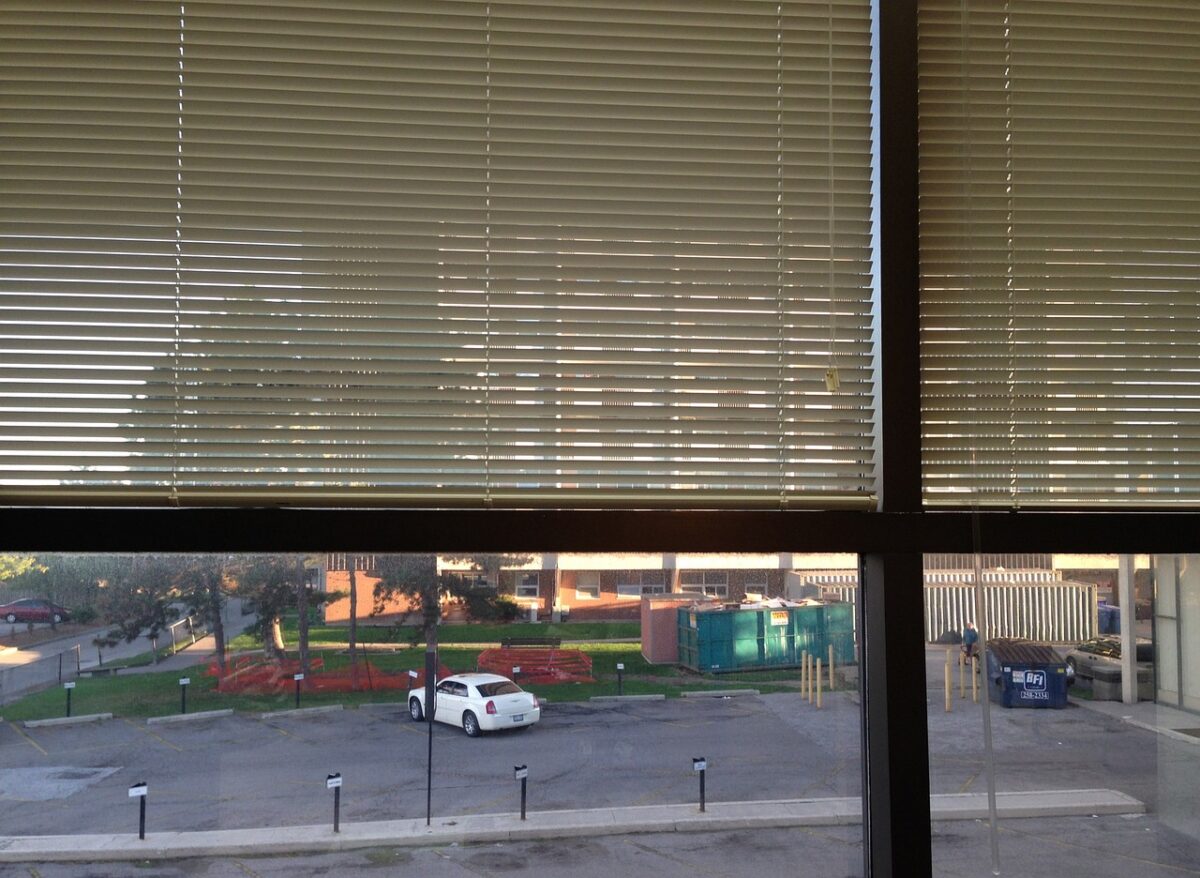
In the summer, blinds can also help to keep the sun out, your home cool, and your utility bills in check. Yet what if your blinds must be cut to fit a new window?
Before you start snipping away, it is vital to determine precisely how much you need to trim your blinds. Taking precise measurements is critical for a clean, professional-looking cut. Here is how to take the measures:
- Fully extend the blind and lay it flat across the window frame. Mark the height where you want the blind to end.
- For width, measure across the top of the window frame from side to side. Mark the width on the top of the blinds.
- Use a ruler and measure the depth you need to cut on each side. Mark with a pencil.
- For valances, measure the window width and use that for the valance width.
Make Straight Cuts With Tin Snips
For straight cuts along the bottom or sides of blinds, a simple pair of tin snips gets the job done efficiently. They are affordable and available at any hardware store. It’s like a smaller version of metal cutting snips that you use to cut steel without the need for a saw.
Follow these steps for smooth, even cuts:
- Position the blind strip evenly in the jaws of the tin snips. Ensure the cutting edge is positioned precisely where you marked the cut line.
- Squeeze the handles firmly to cut through the blind material. Apply steady, even pressure to make a clean cut through. You may need to cut from both sides for materials like vinyl-coated metal blinds.
- Open the tin snips and remove the cut piece of the blinds. Check that the cut is straight and at the correct placement.
- When cutting multiple blinds, clamp them together using a vise or C-clamp to keep them secure and aligned for cutting multiple pieces at once. This helps ensure consistent, straight cuts.
- Go slowly and squeeze firmly. Rushing or using jagged cutting motions can result in uneven cuts. Let the sharp blades do the work.
- For longer blinds, you may need to cut from both sides and finish the cut by bending the partially cut piece back and forth to break it off completely.
Use a Utility Knife for Detailed Cutting
A simple utility cutter is the perfect no-saw solution for more intricate curved cuts. Utility knife blades are extremely sharp and allow for controlled, detailed cuts. In fact, it’s also an ideal tool for cutting a wooden dowel without a saw or cutting a hockey stick without any sharp teeth.
Follow these steps when using a utility cutter to trim blinds:
- Place a metal straight edge along the cut line, such as a ruler. This provides a guide for the knife and helps ensure a straight cut.
- Hold the utility knife in one hand with your fingers wrapped around the handle for control. Place the other hand behind the straight edge for support.
- Score along the cut line by pressing and dragging the utility cutter blade along the edge. Apply steady, even pressure without lifting the blade.
- Cut through one side of the blinds, flip it over, and cut through the other. Cutting from both sides results in a cleaner finish.
- For thicker materials, you may need to make several passes with the knife, repeating the scoring action until entirely cut through.
- Use the straight edge to snap or bend the partially cut piece and separate it.
Cut Blinds With Scissors
Cutting blinds with scissors is a simple yet effective method that requires minimal tools. Using sturdy scissors with strong blades is important to ensure a clean and precise cut. This technique works best for thin, lightweight blinds.
Here are the steps to trim blinds using scissors:
- Lay the blind material flat on a large, clean surface like a table or floor. This gives you room to cut and helps prevent wrinkles.
- Measure and mark your cutting lines with chalk, tailor’s chalk, or a fabric marker. Mark around pieces for consistency.
- Cut slightly inside your marking lines to allow for a tight fit when pieces are joined. You can trim off more material yet can not put it back.
- Trim one layer of fabric at a time to prevent dragging and ensure a straight cut.
- Cut slowly, applying even pressure along the entire cutting edge of the scissors. Do not rush or force the scissors.
- Periodically stop and check your cut line from multiple angles to ensure it is straight. Adjust as needed.
- Use a ruler or straight edge as a guide for long straight cuts and cut along it for precision.
- Remove any loose threads or fraying along cut edges to prevent further unraveling.
- Test fit pieces before finalizing cuts to ensure the dimensions work as planned. Adjust marking lines if needed.
Route Smooth Edges With a Rotary Tool
For vinyl or aluminum blinds with rigid slats, a rotary tool like a Dremel is perfect for achieving a smooth, polished edge after cutting. Like when cutting pegboards without a saw, the tool’s high-speed rotation lets you neatly trim material and route any rough edges. You can skip manually sanding here like what you normally do when cutting laminate flooring lengthwise without a saw.
Here are the basic steps for cutting blinds using a rotary tool such as a Dremel:
- Secure the blind material in a vise or clamp it firmly to a work surface.
- Select a rotary cutting bit suitable for the blind material. Carbide or diamond-cutting bits work best.
- Adjust the rotary tool speed to the highest setting for cutting. Lower speeds are better for polishing.
- Wear proper safety goggles or face shields to protect your eyes from debris.
- With steady, even pressure, run the spinning cutting bit along your marked cut line on the blind material.
- Apply only light pressure and let the bit do the work. Forcing it can cause uneven cuts.
- Cut through one side, then flip and repeat on the other side for a clean finish.
- Go slowly and take your time for accuracy. Rushing can result in a rough cut.

Related Questions
What Can I Use to Cut Blinds?
Can I Cut Blinds With a Knife?
Can Vinyl Blinds Be Trimmed?
Conclusion
Cutting blinds without a saw may seem challenging at first. However, you can accomplish it easily with the proper techniques and tools. Whether you opt for tin snips, a utility knife, scissors, or a rotary tool, each method provides a solution for different types of blinds and materials.