Cutting a baseboard without a saw seemed daunting until I tried some alternative methods. In this article, I’ll share those techniques, showing that sometimes, thinking outside the toolbox can lead to the best results.
Based on years of experience, I will share some simple techniques for cutting baseboards quickly and easily without a saw. Let’s get straight to the details!
How to Cut a Baseboard Without a Saw
Common household tools like a miter box, a utility knife, a router, or a jigsaw can help you make precise cuts in baseboards without using a miter saw. Make a guide and apply slow, steady pressure to cut the baseboard.
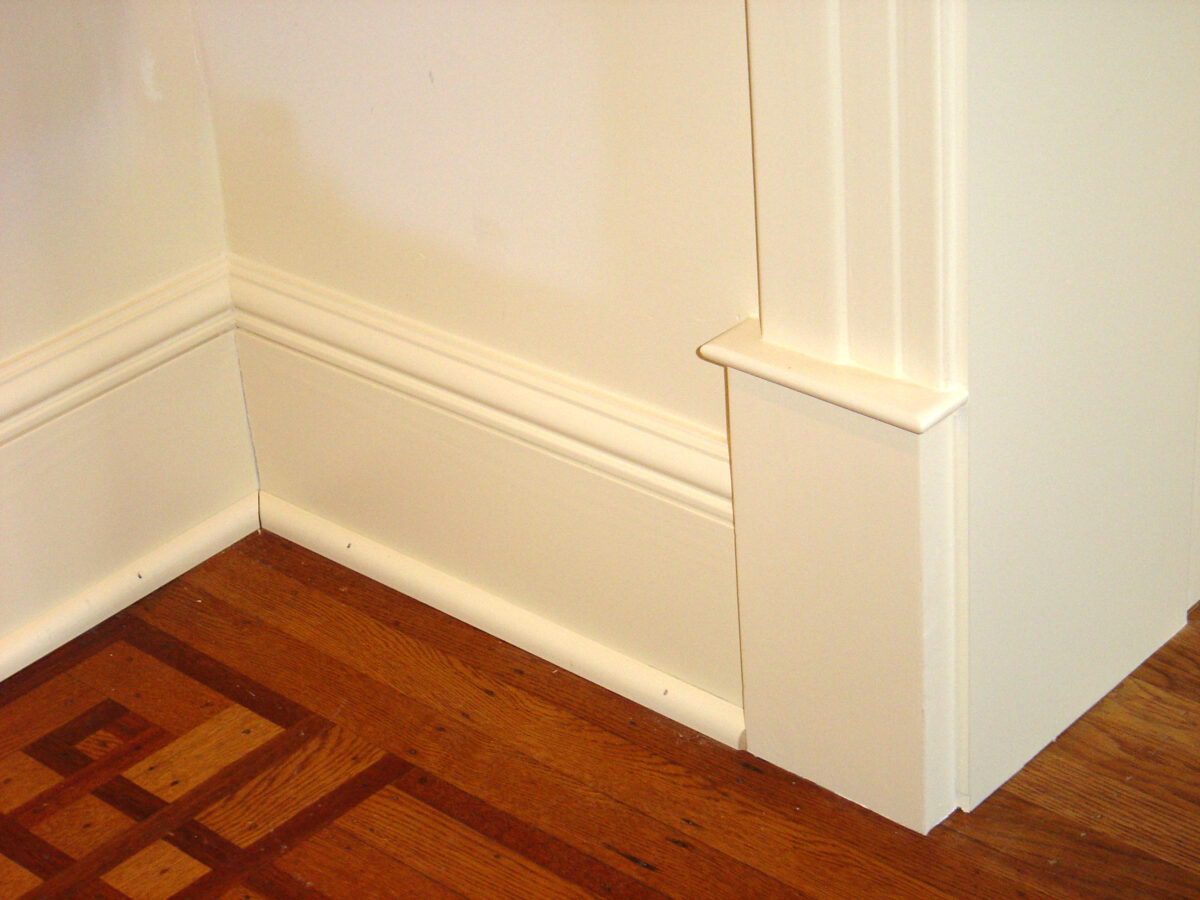
Installing baseboard molding is an easy way to add a touch of elegance to any room. The clean lines and finished look take a space from drab to fab. While it is commonly believed that a miter saw is necessary for this task, there are other ways to cut baseboards without one.

Cutting Baseboards With a Dremel Rotary Tool
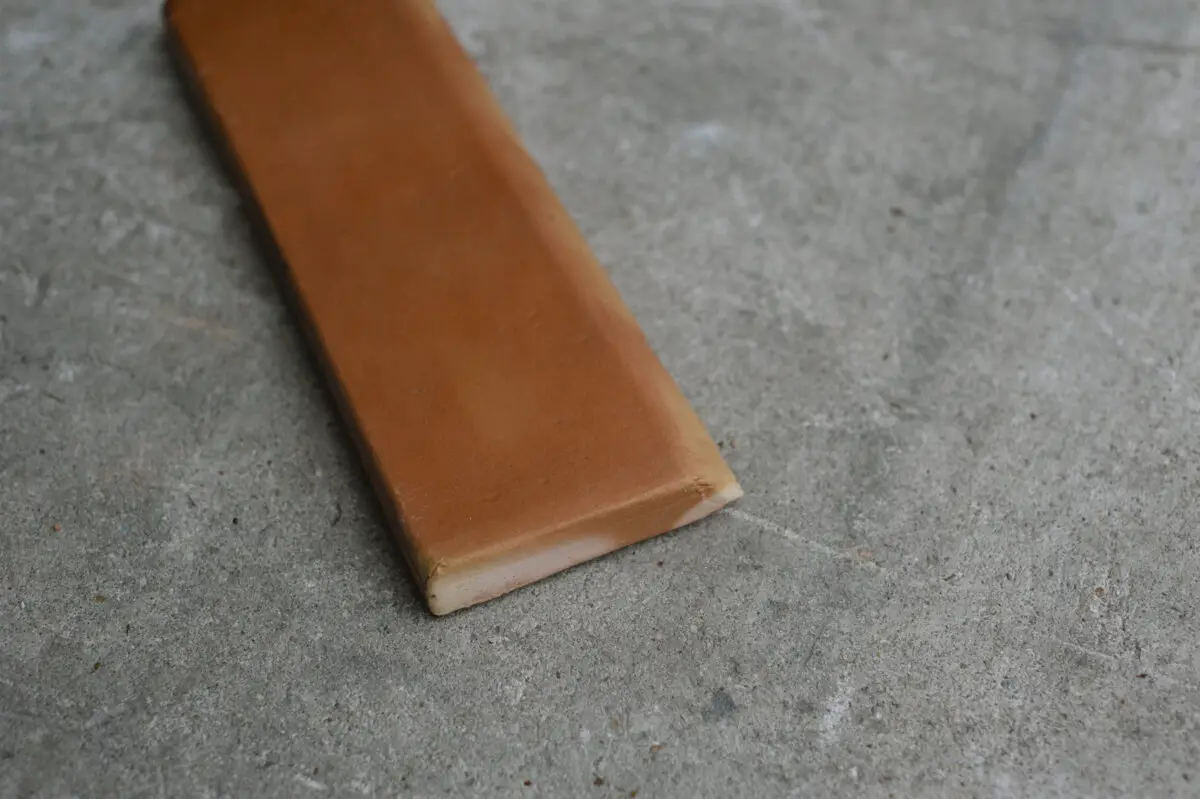
Using a Dremel tool to cut baseboards can be a practical and effective technique to get clean cuts. It’s also an ideal way to cut a hockey stick without a saw. Here is a how-to list to assist you:
- Select the appropriate cutting wheel: Use a 57A-type abrasive cut-off wheel for wood and composite materials. These have a thin, abrasive rim for clean slices.
- Secure the baseboard using clamps: Clamp the board firmly to your work surface so it does not move under the cutting pressure.
- Adjust the Dremel speed: Most have variable speed dials. Set to a moderate speed (2-3 out of 5) for control. Too fast can cause burning.
- Mark your cut line with a pencil: Draw a line where you need the baseboard to end. For corners, leave a slight overhang for future fitting.
- Position the Dremel safely: Hold it firmly and at a 90-degree angle to the mark. Grip near the back to avoid cutting debris.
- Apply light, even pressure, as you cut: Let the abrasive wheel do the work. Do not force it through. Go slowly along the line for a clean slice.
- Check your progress as you cut: You may need to make multiple passes to cut through dense materials like wood.
- Clear debris often: A brush attachment helps blow away dust for visibility as you work. Do not let it pile up on the cutting wheel.
- Finish the cut by hand if needed: The Dremel may not slice all the way. Gently snap off the last bit of trim baseboard.
Sand any rough edges for a finished look before installing your trimmed baseboard pieces. Just like when cutting laminate flooring lengthwise, you want to sand it smoothly as you can. Take your time for the best results. Use eye/hand protection, too, when power cutting.
Cutting Baseboards With a Utility Knife
A utility cutter is often the perfect tool for trimming baseboards with clean, accurate results. You can also use it to cut a wooden dowel without a saw. With a steady hand and a few easy techniques, a utility knife can deliver cuts almost as straight and exact as a saw – without the mess, noise, and hassle.
Here are the steps to cut baseboards with a utility knife:
- Use a tape measure to measure the length of the baseboard you need to cut.
- Put a metal straightedge against the baseboard where you want to cut. Clamp the straightedge to secure it in place.
- Score the baseboard along the straightedge by making shallow cuts with the utility knife. Run the knife along the straightedge multiple times to create a deep groove.
- Continue scoring until you cut through the baseboard. Apply firm, even pressure as you cut.
- Once you have cut through, break or bend the baseboard at the cut line to separate the pieces. Baseboards made of vinyl, fiberboard, or wood will snap or bend cleanly with some force.
- Finish the cut edges as needed. You can use sandpaper to smooth rough or splintered edges.
With the right blade, straightedge, and safety gear, you will learn how a humble utility knife can become your go-to tool for trimming baseboards like a pro.
Cutting Baseboards With a Router
Giving your home’s baseboards the perfect finish often comes down to proper cutting and fitting around corners, doorways, and other obstacles. While you can get by with a handsaw for straight cuts, a router provides precise results that allow your baseboards to hug tight corners and sit flush against walls.
Here are the main steps for trimming baseboards with a router:
- Mark the cuts: Use a pencil to make light marks where you need to cut the baseboard. Mark both the face and bottom sides.
- Clamp a straightedge guide: Use a straight piece of wood, like a 1×4, and clamp it to the baseboard to guide the router base.
- Set the router bit height: Use test cuts on scrap wood to set the router bit height so it cuts through the baseboard, not into the flooring.
- Make the cuts: Use the router base against the straightedge guide, and move the router along the guide marks you made on the baseboard. Make several passes for a cleaner cut.
- Clean up the cuts: Use a chisel or oscillating multi-tool to smooth out the cut inside where the router bit cannot reach. Sand the cut edges smoothly as needed.
You can follow similar steps to trim laminate without a router.
You can master cutting baseboards to produce a seamless, professional finish that completely changes the appearance of the walls and floors of your home with the correct router bits, templates, and methods.
Cutting Baseboards With an Angle Grinder
Although it requires caution and the right accessories, you can use an angle grinder to cut baseboards or landscape blocks without a saw. Here are the basic steps to cut baseboards using an angle grinder:
- Select the appropriate grinding wheel. Use a resin-bond grinding wheel rated for wood, plastic, drywall, etc. Avoid metal cutting wheels like what you use to cut steel without a saw.
- Adjust the grinder speed. Most have variable speed controls. Set to the lowest speed for control and precision cuts.
- Mark your cut line clearly with a pencil on the baseboard.
- Clamp the baseboard to your work surface. This prevents movement during cutting.
- Ensure your grinding wheel is centered and securely attached to the grinder shaft. Tighten the guard.
- Position the grinder at a 900 angle to the cut line. Apply gentle downward pressure as you cut.
- Cut slowly, making multiple light passes instead of one heavy cut. Let the grinding wheel do the work.
- Periodically remove any buildup of sawdust on the wheel using compressed air.
- Finish the cut carefully by hand, if needed using a multi-tool.
Remember, using a grinder can produce a significant amount of dust, so working in a well-ventilated area or using a dust collection system to minimize the number of airborne particles is crucial. Additionally, prioritize safety and exercise caution when operating power tools.
Related Questions
How Do You Cut Baseboards by Hand?
Do You Cut a Baseboard Standing Up or Laying Down?
How Do You Cut Baseboard From the Wall?
Conclusion
With some clever improvisation and manual tools, it is possible to achieve professional results when installing baseboard molding, even without a miter saw. A little ingenuity goes a long way. Follow our techniques for cutting trim and transform any room with elegantly finished baseboards done right.