The easiest and most common way to cut quarter-round molding is to use a miter saw. It allows you to achieve clean cuts and helps you cut the molding at a specific angle required for your project.
However, if you don’t have a miter or any other saw, you can still cut this molding at any angle. In this article, we’ll discuss a detailed method to help you understand how to cut a quarter-round without a saw.
How to Cut Quarter Round Without a Saw
A quarter-round molding is commonly used to fill the gap between a wall and a floor. It’s typically 3/4 x 3/4 inches and made of different materials, including engineered wood, softwood, hardwood, or extruded plastic.
The following is the step-by-step guide to help you cut your quarter-round molding without a saw, regardless of its material.
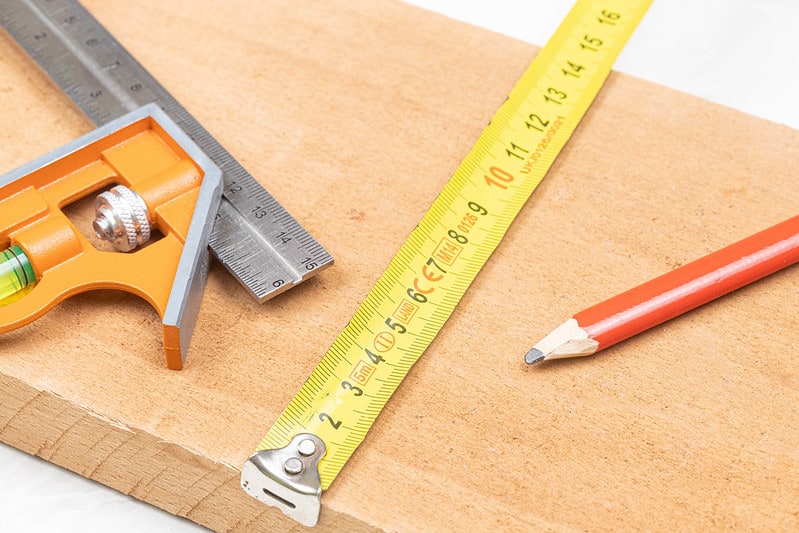
Flickr by Marco Verch Professional Photographer
Step 1: Gather Supplies
The first step is to gather all the required supplies for this project, including the following.
- Measuring tape
- Woodworking pencil or marker
- Protractor, speed square, or angle finder
- Workbench
- Clamps
- Cutting tool (discussed below)
You can easily buy all these tools from any carpentry shop. Ensure you gather them before starting the process to avoid unwanted interruptions.
Step 2: Take Measurements
Once you have all the tools you need, the next step is to measure the length of the floor, wall, or any other place where you want to install the quarter-round molding.
Use your measuring tape and take measurements twice to minimize the risk of error. You can also write the numbers down in your notebook or cellphone.
Step 3: Mark Quarter Round
This step is crucial to ensure the accuracy of the installation, as it involves marking the quarter round with precision. Any mistake in marking the molding could lead to a poorly fitting piece that’ll affect the overall look and reliability of the installation.
You’ll first need to draw a straight line on the molding using the measurements you took earlier. It’ll indicate where it needs to be cut. If you need to install the molding in a place that doesn’t involve a corner, you can move to the next step.
If you need to work with corner(s), the molding will require additional angled marks. You’ll need to cut two pieces that will meet at a 90-degree angle, meaning each piece will be cut at a 45-degree angle.
Marking Quarter Round for Inside Corner
Use your angle measuring tool (protractor, speed square, or angle finder) to mark the left piece at a 45-degree angle to the left, starting from the straight line (you marked earlier).
The right piece should be marked at a 45-degree angle to the right similarly. These marks should start from the inner side of the molding, where it’ll touch the wall.
Marking Quarter Round for Outside Corner
You must do the opposite if you’re working with an outside corner. Mark a line at a 45-degree angle to the left, starting from the outer side of the molding. This will be for the left piece. Then, mark a line at a 45-degree angle to the right in the same manner for the right piece.
Make sure the markings are clear, so you can cut the quarter round precisely.
Step 4: Cut Quarter Round
Once you have quarter-round molding with correct marking, all that is left is to cut it. You can use any of the following methods to complete this step.
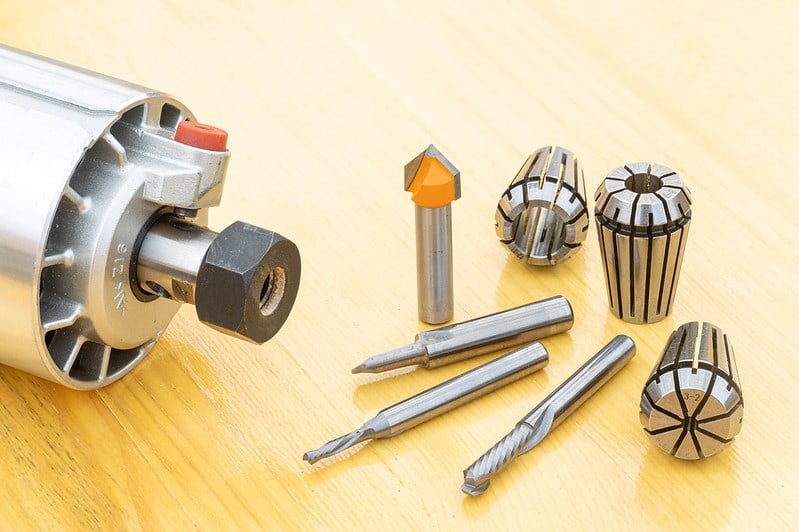
Flickr by Marco Verch Professional Photographer
Using a Router
Here’s a list of steps that you can follow to cut the quarter-round using a router.
- Clamp quarter-round molding securely to a workbench.
- Install a thin straight router bit on the router and adjust the cutting depth to match the thickness of the workpiece.
- Wear safety goggles, work gloves, and a face mask to ensure your safety. It’s also important not to wear loose clothing and dangling jewelry while working with this power tool.
- Turn on the router and start guiding it slowly and carefully along the marked line to cut through the quarter-round.
- Turn off the router and remove the workpiece.
- Repeat the process for all remaining cuts.
Using a Dremel Tool
The following steps will help you cut quarter-round molding using a Dremel tool.
- Choose the appropriate Dremel bit, like a wood cutting wheel, and install it on the tool.
- Clamp the quarter-round molding securely to a workbench or any other stable surface.
- Wear safety glasses and a dust mask to protect your eyes and lungs from sawdust and debris. Don’t forget to wear work gloves to protect your hands.
- Turn on the Dremel tool and adjust the speed to a moderate level.
- Position the cutting wheel against the cutting line and move it steadily and slowly while keeping it perpendicular to the molding.
- Continue cutting until the molding is divided into two pieces. Check the cut frequently throughout the process to ensure it is straight and clean.
- Turn off the Dremel tool after completing the cut and remove the workpiece from the bench.
- Sand the edges of the cut molding lightly to remove any rough spots and create a smooth finish.
- Repeat the process to cut all of the pieces needed for the project.

Using Multi-Angle Miter Shear
Using a multi-angle miter shear can be tiring for your hands since you will be applying force to cut the quarter round. However, the benefit of this tool is that it eliminates the need for measuring angles.
That’s because it comes with built-in angle-measuring functionality. Here are the steps to cut quarter-round using a multi-angle miter shear.
- Hold the quarter round securely against the fence of the multi-angle miter shear.
- Position the quarter round at the correct angle for the cut, which is 45 degrees for inside and outside corners.
- Close the handle of the multi-angle miter shear to make the cut. The shear will cut through the quarter round cleanly and accurately.
- Repeat the process for all necessary cuts.
Frequently Asked Questions
The following are the most common questions people ask about cutting quarter-round without a saw.
What Can I Use to Cut Quarter-Round?
Can I Use These Methods to Cut Other Types of Trim Besides Quarter-Round?
Can I Use a Handsaw to Cut Quarter-Round?
Final Words
Cutting quarter-round molding without a saw is possible using various tools and techniques. Whether you use a Dremel tool just like in cutting a Hockey Stick, multi-angle miter shear, router, or any other cutting tool, take necessary safety precautions before cutting.
Additionally, measure and mark cut lines carefully to achieve the best results. I hope this article has helped you understand the process of cutting quarter-round without a saw effectively.